Showing posts with label DIY. Show all posts

March 6, 2015

Adding Flowers in Unexpected Places - (Hang Them!)

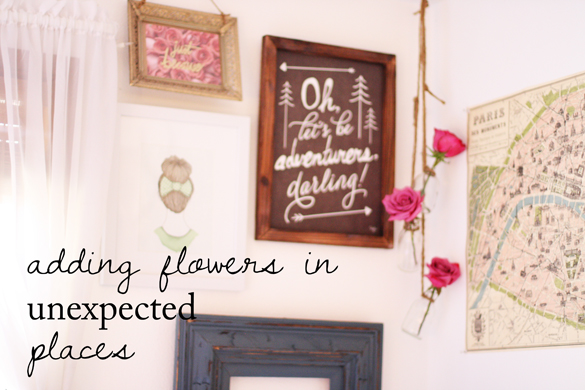
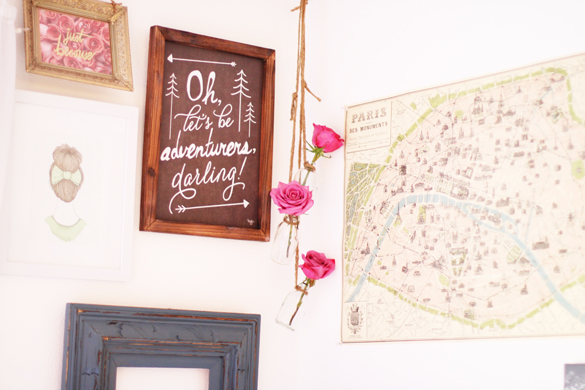
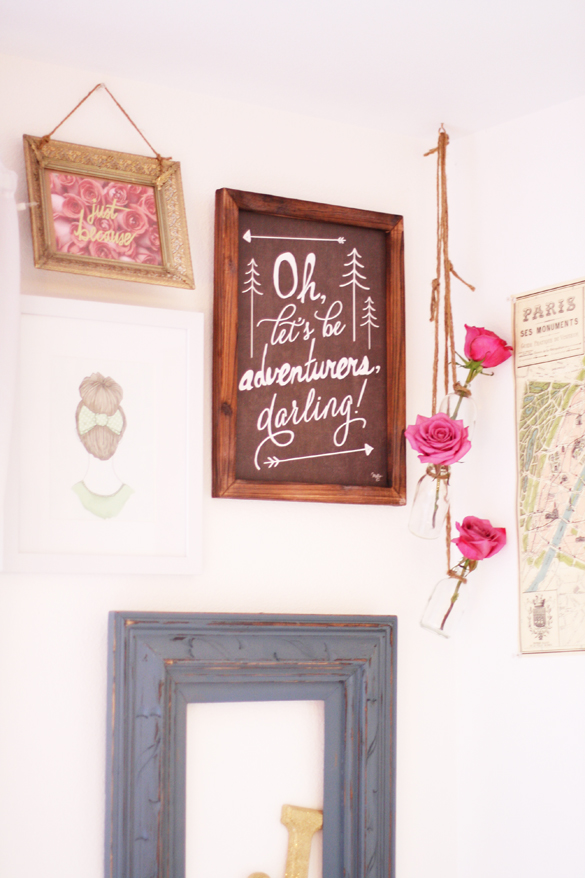
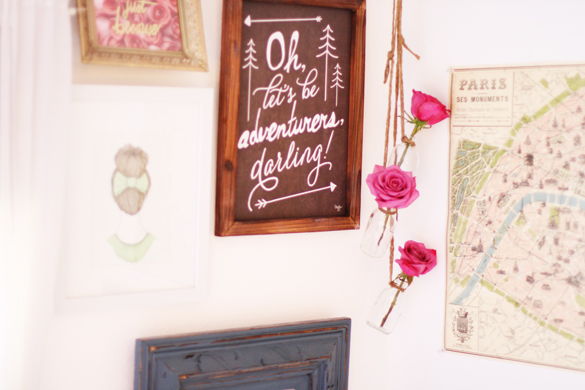
Hello there! So we all know to put flowers in vases and place them on tables, mantles, shelves, any flat surface, right? Well lets switch that up a bit. Lets hang those vases and get some color and life in a dark corner. But you're thinking, "Jordyn, we can hang plants in those corners. There are tons of tutorials for hanging plants around." True. Some corners may not have enough light and could actually be harmful to those indoor plants we love so much, however. That's where cut flowers come in! Sunlight is actually reduces the life of them, so dark corners are perfect!
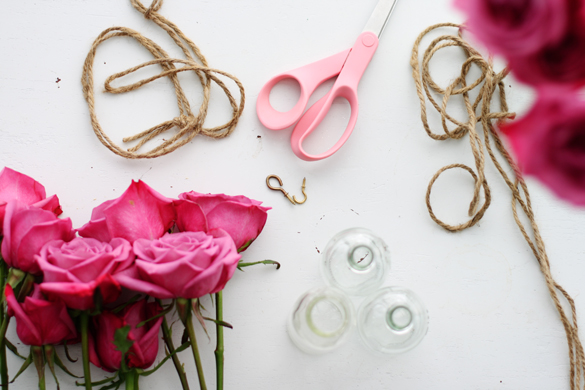
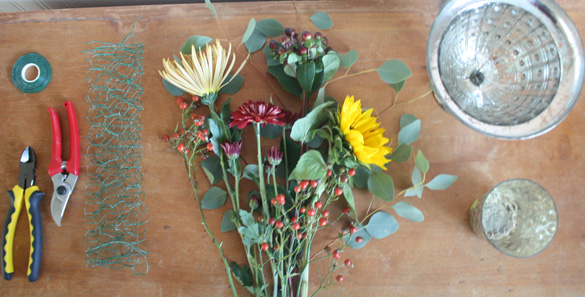
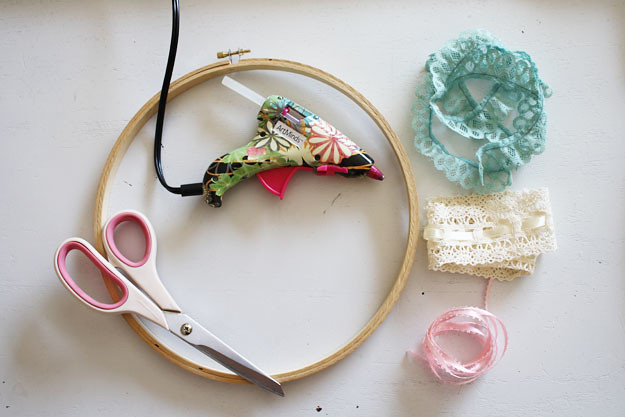
Supplies 
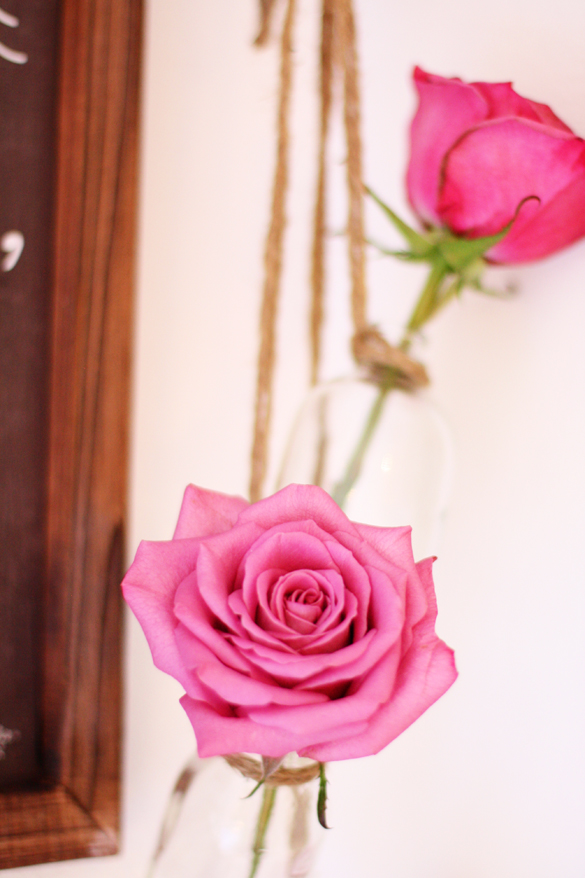
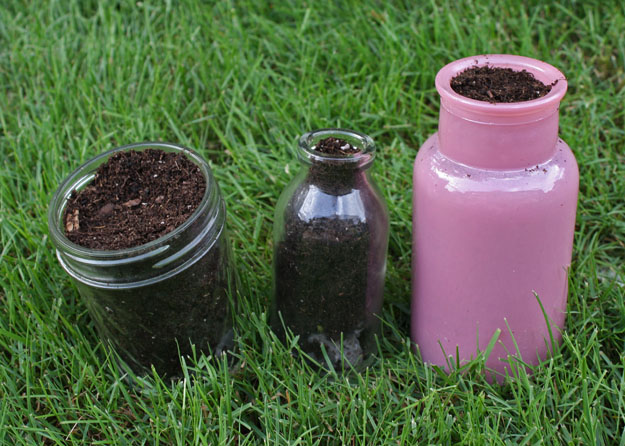
  • Bud Vases - Pick some that have some sort of lip in the opening. 
  • Twine - Or any ribbon/rope. I liked the rustic look of the twine. 
  • Hooks
  • Scissors
  • Fresh Blooms


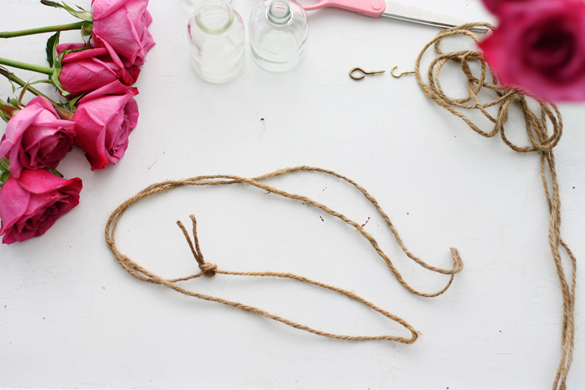
1. Measure how low you would like the hang your vases, double it and cut this much twine. Tie the two ends together so that you have one big circle.
2. Attach the twine to the lip of the vase. Tie it, loop it, whatever works best for the vases that you have, just make sure that it is attached tight so they don't slip off.
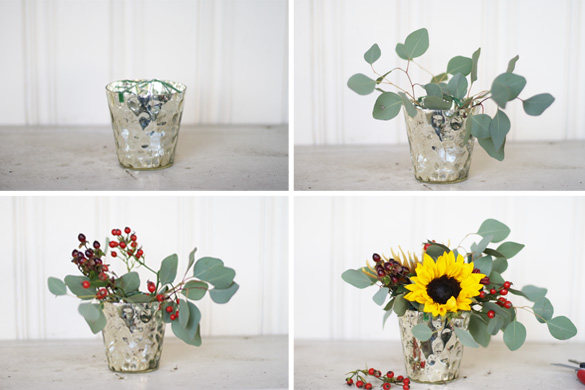
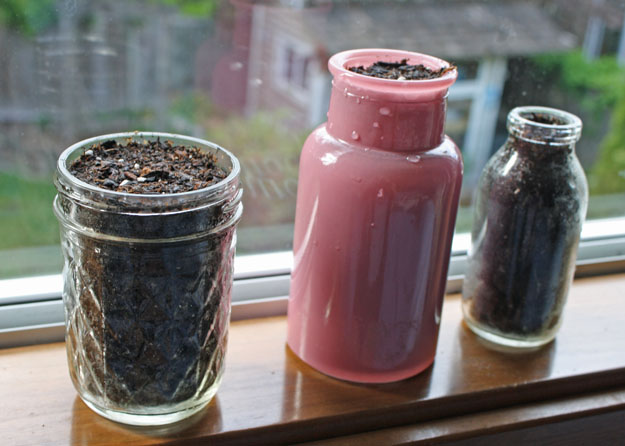
3. Fill the vases with water and place a bloom in each vase.
4. Screw a hook into the ceiling where you would like to hang the flowers. Make sure it is secure!
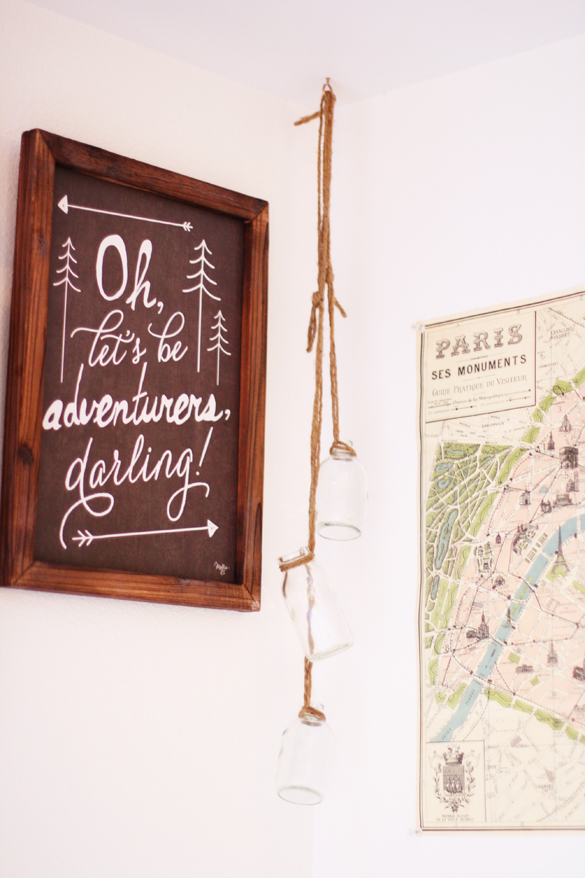
5. Hang your vases!
You can hang as many vases as you want to make a bigger impact. You might want to use more than one hook for that though! I think this would be amazing above a dining room table as sort of a living chandelier. Let me know what you would do with this! The possibilities are endless!
Have a great weekend!
xo

November 9, 2014

DIY Thanksgiving Centerpiece

Thanksgiving is in just a few short weeks and whether you are hosting at your place or going somewhere else, a floral arrangement would make a good centerpiece for your own table or a perfect hostess gift. It might sound a bit intimidating to make your own arrangement, but I promise its not as bad as it sounds!

You are going to need a vase or two, floral wire and water proof floral tape (you can find these at any craft store), wire cutters, floral clippers and of course your choice of flowers. I chose to work with Eucalyptus, Rose hips, Hypericum, yellow and purple Mums, and Sunflowers. You can find flowers at your grocery store, your closest wholesale flower market during public hours, or go to your florist and buy single stem flowers.

Step by Step

  • Begin by washing out your vase and clippers and prep your florals by removing all of the leaves. This will make the arranging go a lot faster.
  • Ball up a portion of the wire and place it in your vase. Secure it in place with the tape. 
  • Start with your chosen foliage to make a base. Cut the stems to size and remove all of the leaves that would be in the water. Keep on adding the foliage until you have a good base. 
  • Next I go in with my textural elements like the rose hips and hypericum. You can place those wherever you want. I usually like to have some berries hanging over the edge in front and high off to the side. But really, put them anywhere you want. 
  • Then I pick out my showiest flower and place that right in front but not center, just off to the side.  Then start putting in my smaller flowers around it. I like to group the same flowers in three's so that they show up more and make more of a statement. 
  • When you have those key pieces in place, fill in with the rest of your flowers and add more rose hips and hypericum. 
  • Place on your table and enjoy!

Things to keep in mind
  • You don't want any leaves in the water or on the flower stems. Leaves in the water will make it dirtier faster and leaves left on stems will take water away from the flower heads. 
  • Place your vase on a box so that it is more level with you. This will make it a whole lot easier!
  • Step back often to look at your arrangement from a distance and from a different perspective. 
  • Don't make it to high. If it is a centerpiece you want to be able to see over it to see across the table. 
  • Most importantly, if you don't like your finished product, take everything out and start over. Its OK! I had to do that this time. I just didn't like the first one I made, at all. I hesitated taking everything out and am so glad I did. So really, its ok to start completely over. You will find also that it goes by a lot faster. 
I hope this helps you out and gives you the little push and confidence to make your own arrangement. If you do, let me know how it goes! Just remember, practice makes perfect. Don't be discouraged by the first arrangement you make. It will get easier. 
Thanks for reading!
xo

October 31, 2013

Happy Halloween!

Happy Halloween! So, I know I said I was being a peacock in this post but… that kind of changed. As I started making the costume it was looking less and less like a peacock and more like a black bird. So my choices were either a crow or a raven. So I'm a raven now. I really liked how it turned out! And Im glad I went with a bird with wings, because now that is a little extra warmth for the cold night. What are you guys being? If you are posting your costume on your blog, link it below! I love seeing other peoples costumes! I will be going to a football game tonight and then bringing the raven out tomorrow night. I hope you guys have a great night! See you tomorrow for November! My birthday month!

September 11, 2013

DIY Mason Jar Lanterns

I have a super easy fall DIY for you today, making lanterns from mason jars. The supplies include mason jars, wire, chains, candles and wire cutters/pliers.
Step 1: Wrap the wire a couple of times around the neck of the mason jar. Make sure it is tight so the wire cannot come off of the jar. 
Step 2: Attach the chains to the wire by pulling apart one of the links on each side of the chain and attaching it to the wire. You can use the pliers to help pull apart the bigger links. 
Step 3: Insert a candle.
Step 4: Light and enjoy!
See, easy! I placed mine on my front steps. I think they would also look good as a centerpiece on a table as well. This just adds a little extra cozy to your home as the temperatures decrease, leaves start to change and it gets darker earlier. 

September 5, 2013

Turning a TV Cabinet into a Shoe Closet

I recently redecorated my room and needed a new way to store my shoes. I couldnt keep them in the closet and a shoe rack that I had previously been using was too long for the space it needed to go in. So my mom came up with the GENIUS idea of turning our old TV cabinet that was being used to store dust into a shoe closet. I said "YES PLEASE!"
It was really quite easy and for a motivated person could easily be done in a weekend. First thing I did was paint it. All of my other furniture is white but I wanted a pop of color in my all white room so I went for this coral pink just on the inside. I failed to take a picture of the inside before I did anything, but it didnt have a back and of course no shelves. For the back I used cardboard. I took the backing out of a big picture frame we had in the garage, painted it and it worked perfectly. The shelves we also had laying around luckily. Those were cut down to size, painted and attached using L brackets. The brackets are screwed to the side walls of the closet and the shelves just lay right on top of them.
The original cabinet had a pull out shelf underneath the main cabinet. I removed that shelf and put two storage bins from Target to store my tights and socks.
And for the bottom cabinet, it is just painted and became the perfect spot for my boots. It can hold eight pairs which I was pretty surprised by.
I am so happy with my new closet. It is completely perfect and it feels like im shopping when I go to pick out my shoes for the day. I seriously recommend doing this if you have an old cabinet of some kind laying around. I will probably add some hooks to the side or on the inside of the doors for extra storage but I havent completely decided on that yet.

I hope this gives you a fun new idea for storing your shoe!

August 28, 2013

Dream

Read more.
Write more. 
Sleep more.
Dream more.
Live more. 
Love more. 
Look more. 

May 29, 2013

Growing Seeds in Drain-less Jars

I love watching seeds sprout and plants grow. It is so fascinating to me. Which is why seeds growing in different jars and containers on a windowsill is a must. Often times however those jars do not have a drainage hole for the water to escape. You dont want the soil and seed to become waterlogged and rot. The seed wont grow. To solve this, it is really quite simple. Just add gravel to the bottom of the jar. Then place the soil on top of that with the seeds towards the top. I chose gravel because I like the looks of it but you could also use decorative and colorful needs or glass pebbles to add a little something more. This extra layer allows the water to sit there without waterlogging the soil and harming the seeds or roots. Now you can grow seeds in whatever containers you want and enjoy the wonder of nature inside. Just be sure to give them plenty of sun and keep the soil moist but not soaking wet. Happy Planting!
The pink jar is from my friend Cara. You should go check out her blog Cara Joy, especially the series when she redoes her camp trailer! Its amazing! The Before and After! Go say hi!

Follow me || Bloglovin || Twitter || Pinterest || Instagram || Facebook

March 8, 2013

DIY Earring Holder

Happy Friday! I've got a quick and easy DIY for you today. Now this is not a new concept by any means, but I've found myself acquiring a lot of earrings lately and needed a place to keep them, so I whipped this up real quick one afternoon and wanted to share it with you. The best part about this was that I didn't have to buy anything for it!

You'll need an embroidery hoop, a variety of ribbon, scissors and a glue gun.
1. Cut the ribbon to the width of your embroidery hoop. 2. Glue the edges of the ribbon to the small hoop. 3. Put the adjustable hoop back on. Complete! You got yourself a new earring holder!
What I like about the ribbon instead of one piece of fabric is that you don't have to reach all the way behind the hoop to undo the earring backs. You can just reach behind that one piece of ribbon. Much easier.

 Hope you have a lovely day today!

Search Pretty Lovely